BIRTHDAY CRAFTS
Unicorn Party Crafts for Ages 8–12: Woven Manes and Pop-Up Cards
For unicorn party crafts for ages 8–12, we suggest two paper projects: a portrait with a woven mane and a card that opens into a pop-up meadow. Allow 90 minutes for eight makers, including the birthday child. Prepare the cuts beforehand, then let guests choose their patterns, expressions and imaginary meadow details.
Parents planning unicorn crafts for children ages 8–12
Gather supplies for eight makers
Arrange eight reachable workspaces and keep each project's materials in a separate tray. We suggest one adult demonstrating and another helping with folds and arrivals. These quantities cover both crafts, two demonstration pieces and spare strips and picture panels.
- White light cardstock: 20 Letter-size sheets—8 portrait bases, 8 folding cards, 2 sheets for picture panels and 2 for demonstrations or restarts.
- Colored paper: 4 Letter-size sheets, preferably two light and two dark. From each, cut an 8-inch square, then sixteen strips measuring ½ × 8 inches. Halve each strip to make 32 pieces measuring ½ × 4 inches: 128 altogether, with 96 needed for guests.
- Picture panels: cut the two allocated white sheets into six 3-inch squares each. Put out eight squares and keep four spare.
- Shared supplies: 8 pencils, 2 sets of colored pencils, 4 glue sticks, 2 rulers, 1 pair of adult-use scissors, 2 trays, 1 scrap box and 8 folders large enough for Letter-size artwork.
Project 1: weave a unicorn's mane
Each guest needs one portrait sheet and twelve colored strips: six for the hanging strands and six to weave across them. Choose contrasting colors so the crossings are easy to see. Make this portrait flat on the table.
- 1. Turn the white sheet landscape. Draw a unicorn head on the left half, adding an ear, a horn and a neck. Leave the right half for a mane about 4 inches square.
- 2. Arrange six strips vertically beside the head, with their long edges touching. Glue only the top ½ inch of each strip to the white sheet. Leave the rest loose.
- 3. Thread one cross-strip over the first hanging strand, under the second, and so on across all six. Slide it just below the glued tops, leaving about ½ inch sticking out at each side.
- 4. Add the next cross-strip with the opposite pattern: under the first strand, over the second. Continue alternating for all six rows. Push rows gently together as you go.
- 5. Check the crossings before gluing the projecting side ends and loose bottom ends to the backing. Draw a fringe between the head and mane, then add an expression or a name.
Project 2: build a pop-up unicorn meadow
Each guest needs one folding sheet and one 3-inch picture square. An adult prepares the cuts in steps 1–2 before the party. Show a sample opening and closing slowly; the moving paper step is part of the fun.
- 1. Fold the sheet in half by bringing its short edges together. With the card closed, make two parallel cuts from the folded edge, centered on that edge, 2 inches apart and 1 inch deep.
- 2. Fold the flap between the cuts upward along a line connecting the cut tips. Crease, then unfold it. Open the card and push this flap inward, reversing its middle fold.
- 3. Hold the card open at a right angle, with one half flat as the meadow floor and the other upright as the backdrop. The flap should form a step with a horizontal top and a vertical front. Help reshape its folds if needed.
- 4. Draw a unicorn on the separate square using an oval body, four legs, a head and a horn. Keep the square uncut. Decorate the floor and backdrop with paths, clouds or enormous imaginary flowers, leaving the step clear.
- 5. Glue only the bottom inch of the square's back to the step's vertical front, with its lower edge resting at floor level. Leave the horizontal top unglued. Let the glue set, then close gently and reopen. If anything catches, reposition the square before pressing it firmly.
Offer different ways to make each project
Offer these choices without assigning guests to ability groups. Anyone can choose a simpler version, point to colors for a helper or leave a project unfinished. Demonstrate one action at a time and keep a quieter seat available.
- Ages 8–9: prepare the six glued strands and demonstrate the first woven row. Preform the card's step so guests can focus on weaving, drawing and attaching the picture.
- Ages 10–12: invite guests to plan a repeating row-color sequence and design a meadow where the foreground unicorn connects with something drawn behind it.
- Younger siblings: offer a mane made from glued parallel stripes and a flat meadow picture. Include them in the supply count; an adult handles assembly support.
Use this 90-minute craft timeline
This is a craft session to fit within your celebration; schedule food and cake separately. Each project block includes a demonstration. If making runs long, shorten the gallery and let guests finish at home.
- 0–10 minutes: welcome guests, show both samples and choose paper colors.
- 10–40 minutes: draw the portrait, weave the mane and set it aside.
- 40–50 minutes: return the first tray, collect scraps and take a short break.
- 50–80 minutes: shape the pop-up step, draw the meadow and attach the unicorn panel.
- 80–90 minutes: offer an optional seated gallery, pack artwork and return shared supplies.
Prepare, pack and add optional party printables
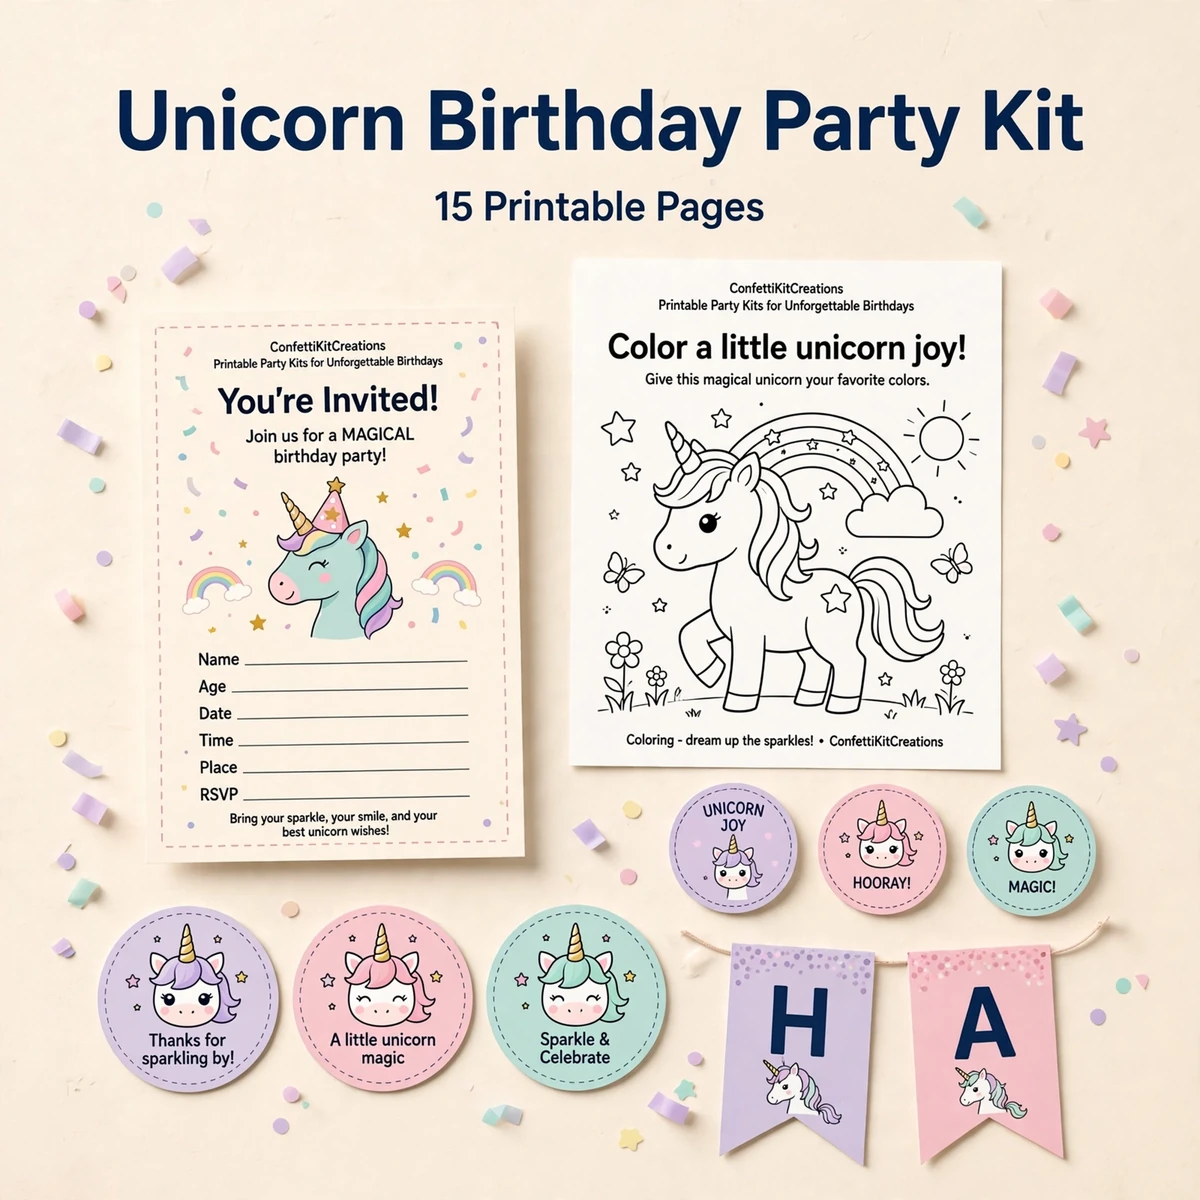
Our Unicorn Birthday Party Kit is an optional non-personalized digital instant download with 6 PDFs / 15 pages, available on Etsy or Payhip. Purchases happen through those external stores; Party Kit Studio has no on-site checkout, and no physical items are shipped. These two crafts are separate DIY projects, not files included in the kit.
- The day before: make one of each sample, check that the card closes, cut all strips and squares, and prepare the eight card tabs.
- Before arrivals: count twelve strips, one portrait base, one card and one square per guest. Put scissors away and set out the first tray.
- At packing time: check that glue has set, close each card gently and place both projects in the owner's folder. Carry any still-damp work flat.
- Afterward: cap glue sticks, count pencils and rulers, save usable offcuts and wipe the table. Let guests keep leftover strips for finishing their own work.
Questions, answered.
Do we need a printer or purchased templates?
No. Both projects use plain paper, simple drawn shapes and the measurements in this guide. The optional Unicorn Birthday Party Kit is separate from the craft instructions.
How can we shorten this to 45 minutes?
Choose the woven portrait only: allow five minutes to demonstrate, thirty to make and ten to pack. Glue the hanging strands to each backing beforehand.
Can we use A4 paper instead of Letter?
For these DIY crafts, yes. A4 accommodates the 8-inch squares, 3-inch panels and card cuts described here. Keep those measurements unchanged; the portrait bases and folded cards will have slightly different proportions.