
BIRTHDAY CRAFT PARTIES
Picture Puzzle Birthday Party: Draw, Cut and Swap
For a picture puzzle birthday party, each guest draws a scene, an adult cuts it into rectangles, and everyone swaps puzzles to rebuild the pictures. We suggest eight makers, two adults and 90 minutes, including cake and packing. Each child takes home their own creation. The straight-edged pieces need only ordinary drawing supplies and scissors.
Parents hosting eight children ages 8–12, with options for ages 4–7
Count supplies and set up a cutting station
Give every maker space for a full sheet and loose pieces. One adult hosts while the other handles all cutting at a separate surface. Use pencils or crayons so pictures need no drying time.
- Picture bases: 10 sheets of plain white card, A4 or US Letter—eight guest sheets, one demonstration sheet and one spare.
- Working paper: 10 plain sheets—eight assembly mats, one demonstration mat and one spare. Keep card offcuts for extra doodles.
- Drawing tools: 8 pencils, 2 erasers and 2 shared sets of crayons or colored pencils.
- Adult tools: 1 ruler, 1 pair of scissors, 1 pencil, 1 cutting tray and 1 scrap container.
- Packing: 9 envelopes—eight guest envelopes and one for the demonstration puzzle. Each should hold a 9 × 8 cm rectangle without folding it.
- Refreshments: 8 cups, 8 plates and 16 napkins, plus water, snack and cake chosen after checking guests’ food needs. Count attending adults separately.
Prepare twelve-piece grids before the party
Trim nine card sheets to 18 × 24 cm rectangles: eight guest bases and one demonstration base. Keep the tenth sheet whole as a spare. On each reverse, mark every 6 cm along the edges and draw three columns by four rows. This creates twelve 6 cm squares.
Assign guest puzzles letters A–H. Write the matching letter inside every reverse cell and on its envelope and mat. Mark demonstration cells DEMO. These labels let you return a wandering piece to its set without supplying the solution.
Draw an 18 × 24 cm outline on each assembly mat to show the finished picture’s size. Make and cut your demonstration picture now, then reassemble it inside its outline. Leave guest bases uncut until their drawings are finished.
Draw a picture that gives solvers clues
Show the whole demonstration picture, shuffle its pieces and rebuild a few matches. Explain that a line continuing across two pieces can be a clue. Invite guests to draw on the blank front of their card, with the cutting grid underneath.
Offer a cheerful starting scene: a dinosaur carrying a striped present past a winding path and three different trees. The dinosaur can be an oval body, a long tail and four legs. Guests may invent another scene. Encourage large shapes and different details near the edges instead of a tiny drawing surrounded by empty card.
Ask makers to add details across large blank areas before handing over their work. While waiting for cutting, they can decorate their envelope and draw a picture clue on the back of their assembly mat.
- Cut one puzzle at a time. Check its letter, turn the picture face down and follow the penciled grid. Collect every piece in the matching envelope before starting another.
- Return each cut set to its maker for a practice assembly. Count twelve pieces and check that all belong to the same letter.
- If two blank pieces seem interchangeable, assemble the picture and draw one continuous wavy line across that area. Separate the pieces and try again.
Swap puzzles with clear rules and flexible help
Seat guests in four pairs. Partners exchange envelopes and mats, then rebuild each other’s pictures face up inside the outlines. Give each round about six minutes, with a warning before the end. The clock signals a change of activity; there is no speed prize.
Ask before giving a hint or touching someone else’s pieces. Offer help in steps: turn over the mat to see its picture clue, identify one corner, then join two matching pieces. At the end, makers can help finish or gather the pieces. An unfinished puzzle still returns to its owner.
For round two, return all sets first. Each pair exchanges its two complete sets with a neighboring pair. Afterward, return every puzzle to its maker. An early finisher can think of a helpful clue rather than take over someone else’s puzzle.
- Ages 4–7: prepare two columns by three rows instead, making six 9 × 8 cm pieces. Offer one large drawing, show the picture clue and work alongside an adult.
- Ages 8–9: use twelve pieces, look at the picture clue first and invite the solver to find a large object. The clue is available throughout.
- Ages 10–12: offer twelve pieces without showing the picture clue initially. Let the solver reveal it whenever wanted; extra difficulty does not require more cutting.
- For easier participation: a guest can direct a helper to draw or move pieces. Offer the six-piece version at any age and keep all work within comfortable reach.
Follow this 90-minute birthday timeline
Begin cutting as drawings become ready, without rushing unfinished makers. The hosting adult keeps envelope decorating and practice assemblies moving. If cutting takes longer, run one swap round and keep the food and pickup times.
- 0–10 minutes: welcome guests, match letters to workspaces and demonstrate the puzzle.
- 10–30 minutes: draw scenes; start cutting any completed pictures.
- 30–50 minutes: finish cutting, decorate envelopes and test each puzzle.
- 50–65 minutes: play two short swap rounds, including returns and transitions.
- 65–80 minutes: clear loose pieces, wash hands and enjoy refreshments and cake.
- 80–90 minutes: count pieces into envelopes, collect mats and tidy for pickup.
Prepare ahead and send complete puzzles home
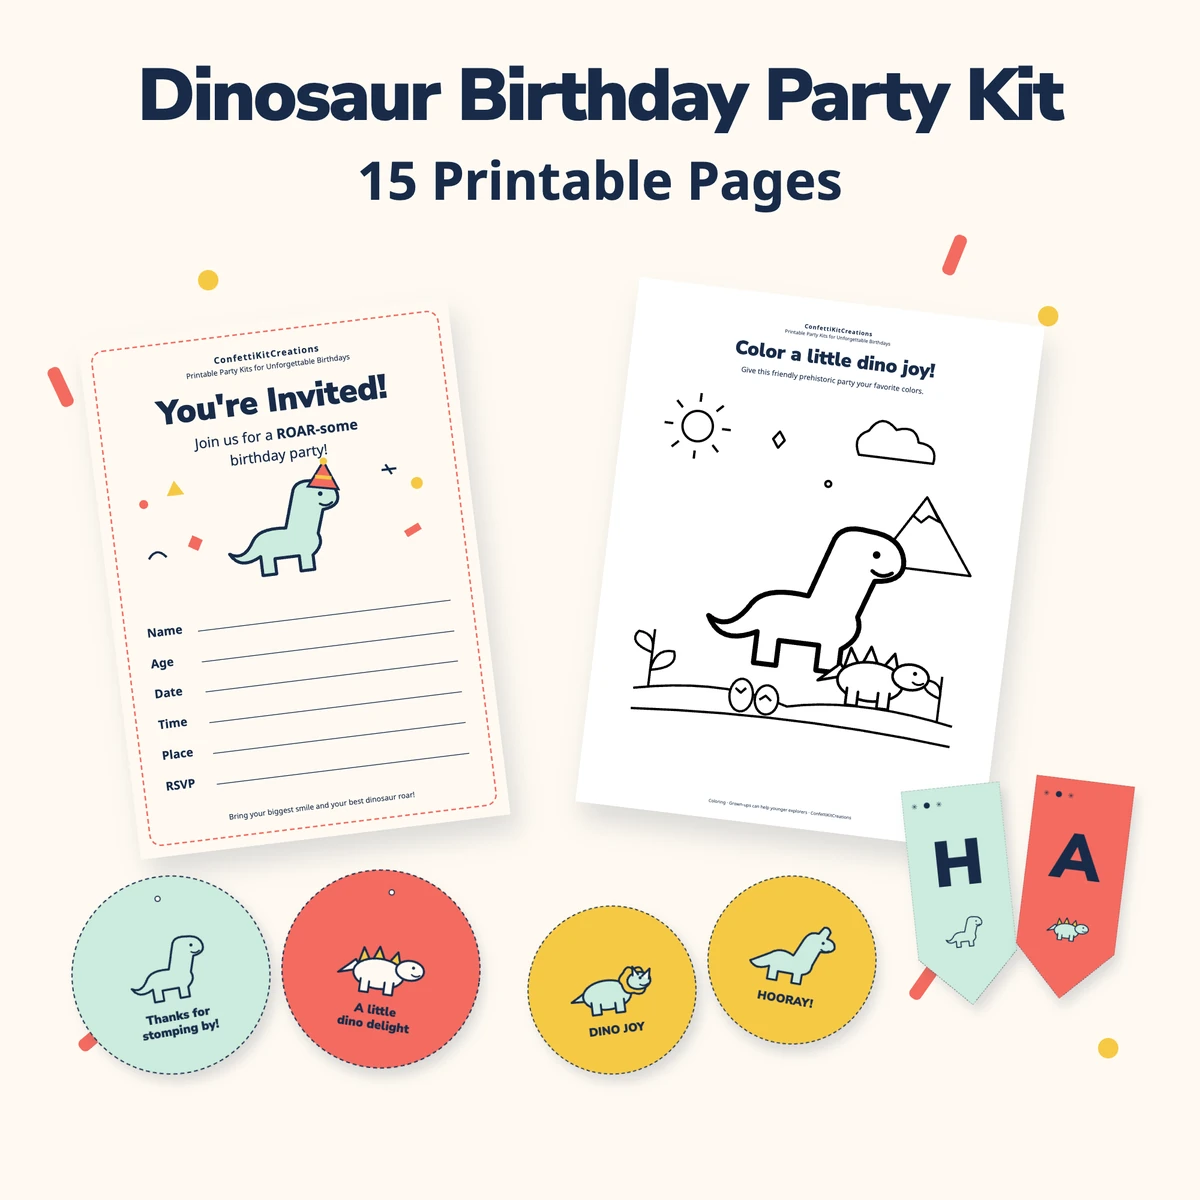
For a dinosaur drawing theme, our Dinosaur Birthday Party Kit is an optional companion with 6 PDFs / 15 pages. It is a non-personalized digital instant download, purchased through Etsy or Payhip’s external checkout, with no physical shipment. These handmade picture puzzles are a separate DIY activity, not files included in the kit.
- The day before: confirm attendance, arrange the two adult roles, choose piece counts, trim bases, draw grids and label every reverse cell.
- Before arrivals: rehearse the demonstration, set out matching mats and envelopes, and keep the cutting station apart from guest workspaces.
- Before pickup: count twelve pieces, or six for the larger-piece version, into each matching envelope. Fold its assembly mat separately and give both to the maker.
- After pickup: check under chairs for missing pieces, return drawing supplies, save unused card and clear scraps from both tables.
Questions, answered.
Can we use ordinary paper instead of card?
Yes. Keep the pieces flat on the assembly mat and slide them into position gently. Pack them in an envelope before clearing the table; thin paper needs careful handling.
How do we run this for four children?
Prepare four guest bases, mats and envelopes, plus the demonstration set and spares. Make two pairs and exchange their sets for round two. One adult can cut while guests decorate envelopes, then help with practice assemblies.
What if a child does not want their drawing cut?
Keep it whole. Offer the demonstration puzzle to solve, or let them draw a second simple picture on spare card for cutting. Agree before the scissors come out; keeping a finished drawing is a valid choice.