
BIRTHDAY CRAFT PARTIES
Pixel Art Birthday Party: Make Paper Pictures for Eight
For a pixel art birthday party, give each guest a paper grid and colored squares to arrange into a picture. Try the robot below or invent a tiny game character, then glue the design and share an optional tabletop gallery. We suggest this 90-minute plan for eight children ages 8–12, including the birthday child, with specific changes for younger guests. No printer or screen is needed.
Parents hosting eight children ages 8–12, with options for younger guests
Gather supplies for eight picture makers
Each guest gets one board and 48 colored squares. A board has 36 spaces; unfilled spaces can remain white. Count the birthday child among the eight makers.
- Boards: 10 sheets of plain white card, either A4 or US Letter—eight guest boards, one demonstration board and one spare.
- Tiles: 4 sheets of colored paper in four contrasting colors. An adult cuts one 20 × 20 cm square from each sheet, then divides it into one hundred 2 × 2 cm tiles: 400 tiles total.
- Tools: 8 pencils, 4 shared glue sticks, 2 sets of colored pencils, 1 ruler and adult-use scissors. All cutting happens before guests arrive.
- Organization: 8 shallow trays or small boxes for personal tile sets, 1 tray for demonstration tiles, 8 take-home folders and 1 scrap container. Folded sheets of spare paper can replace folders.
- Refreshments: 8 plates, 8 cups, 16 napkins, water and the agreed snack and cake. Count attending adults separately.
Prepare the grids and divide the colors
On each card sheet, draw a centered 12 × 12 cm square. Mark every 2 cm along its edges, then draw a six-by-six grid with light pencil lines. Keep the sheet whole, leaving a border for a title. Number rows 1–6 down the left and columns 1–6 across the top.
Put 12 tiles of each color into every guest’s tray: 48 tiles per person and 384 altogether. Keep the remaining 16 in the host tray for the demonstration. Label the four colors A, B, C and D on your demonstration board, with a small matching swatch beside each letter.
Show how one tile fits in one grid cell. Tiny gaps or uneven edges are fine. Keep boards at each guest’s place while tiles are loose.
Arrange a robot, then make it your own
Guests can invent a picture or copy this robot. Read rows from top to bottom and columns from left to right. Any cell not mentioned stays empty. The example uses 10 A tiles, 2 B tiles, 6 C tiles and 2 D tiles, all within each guest’s supply.
Lay out the entire picture without glue first. Ask whether the guest wants to move anything, add a hat or change the expression. Then lift and glue one tile at a time, working from the top row downward. Add a title in the border and the maker’s name on the back.
- Row 1: place D tiles in columns 2 and 5 for two antenna tips.
- Row 2: place A tiles in columns 2, 3, 4 and 5 for the top of the head.
- Row 3: place A tiles in columns 2 and 5, with B tiles in columns 3 and 4 for eyes.
- Row 4: place A tiles in columns 2, 3, 4 and 5 to finish the head.
- Row 5: place C tiles in columns 3 and 4 for the body.
- Row 6: place C tiles in columns 2, 3, 4 and 5 for a broad pair of feet.
Offer different challenges and a gentle gallery
Explain the shared rules before making: ask before borrowing tiles, trade only when both makers agree, and change only your own picture. Nobody needs to fill every space. Guests who finish early can draw a setting in the border or name their character’s wonderfully unhelpful superpower.
For the gallery, invite willing makers to explain one choice. Seated guests can show their board once the tiles are secure. Offer a response such as “I noticed the striped antenna.” Keep sharing optional and skip voting for a winner.
- Ages 5–7: prepare a four-by-four grid instead, using the same 2 cm tiles. Offer a simple face or repeating pattern and help place or glue pieces as requested.
- Ages 8–12: use the full grid and offer an optional limit of two colors, a symmetrical design or an invented symbol. Drawing experience is not required.
- For easier handling: use a four-by-four grid and 3 cm tiles. Prepare 24 tiles per guest, six of each color. For eight guests using this version, allow 8 colored sheets, two of each color; each 20 cm square yields 36 larger tiles.
- Anyone can point to cells and direct a helper. Use row numbers, column numbers and letter labels alongside colors when explaining a pattern.
Follow this 90-minute birthday timeline
This schedule includes making, snack and cake, and packing. Keep loose tiles on the craft table and serve food on a separate cleared surface. If making runs long, shorten the gallery.
- 0–10 minutes: welcome guests, choose seats and add names to boards.
- 10–20 minutes: demonstrate the grid, introduce the robot and explain tile sharing.
- 20–40 minutes: arrange pictures without glue; help guests revise or simplify.
- 40–55 minutes: glue tiles, add titles and move finished work to a dry resting place.
- 55–75 minutes: wash hands, serve the planned snack and enjoy the birthday cake.
- 75–85 minutes: offer the gallery and check for loose tile corners.
- 85–90 minutes: pack pictures, return supplies and welcome caregivers for pickup.
Prepare once and send the pictures home
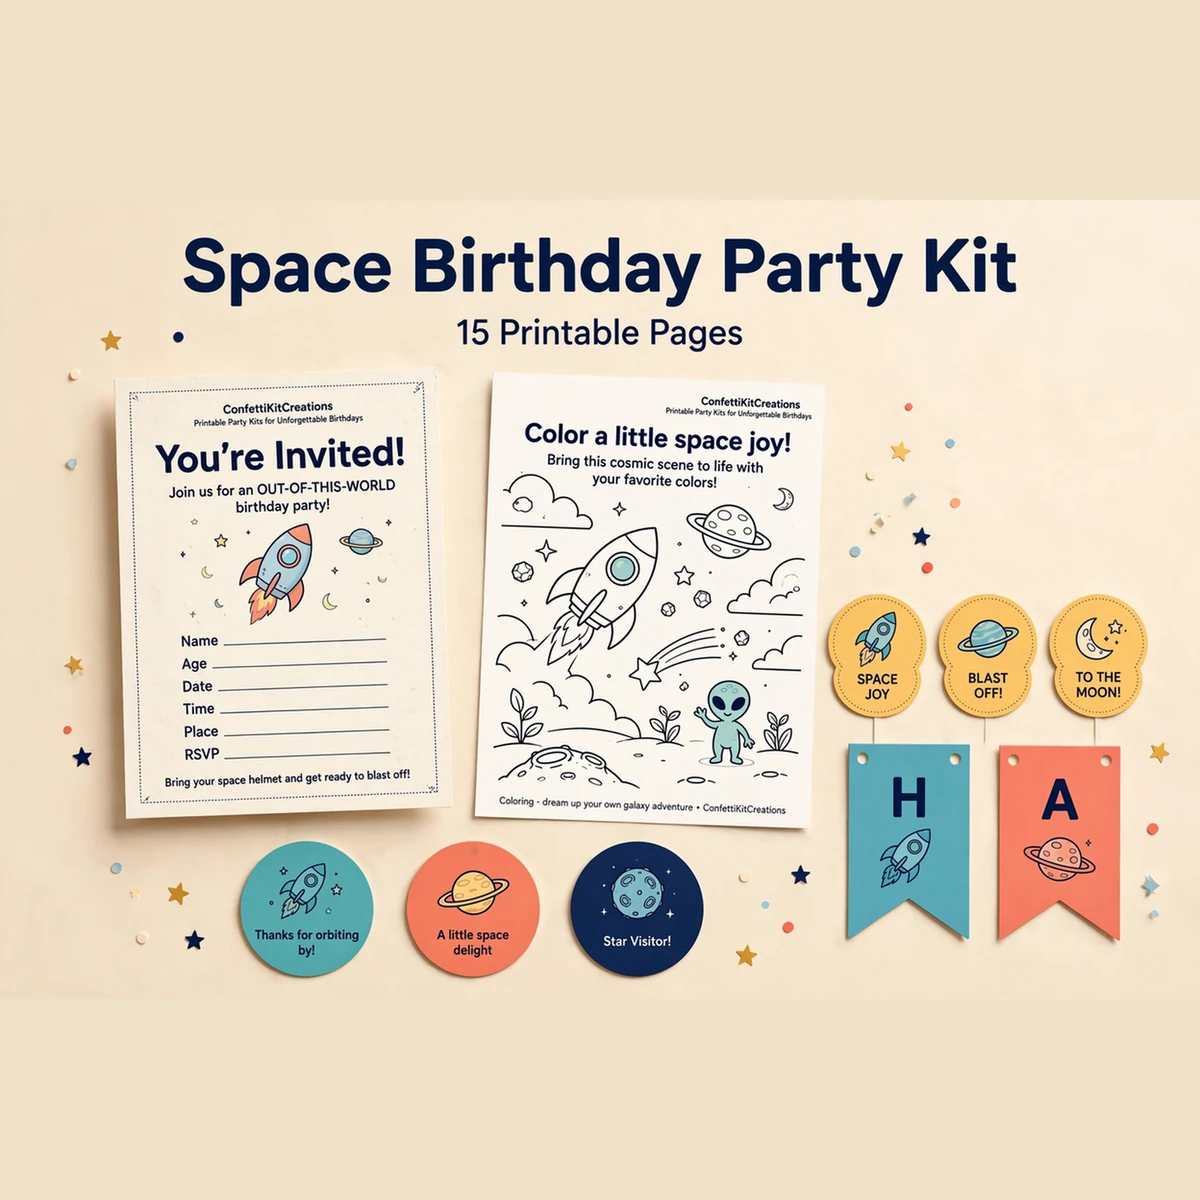
If your child chooses a space theme for the robot studio, our Space Birthday Party Kit is an optional companion. It is a non-personalized digital instant download with 6 PDFs / 15 pages, purchased through Etsy or Payhip, with no physical shipment. These homemade grids and pixel pictures are separate from the kit’s included files.
- Before the party: confirm guests and refreshments, choose tile sizes, cut tiles and draw grids. Test the robot without glue, then return its tiles to the guest sets.
- Before arrivals: divide tile sets, place pencils and shared glue sticks, prepare the food surface and put cutting tools away.
- Before packing: let glued pictures rest according to the adhesive instructions. Check corners gently; carry any still-damp board flat without closing a folder against it.
- After pickup: cap glue sticks, save unused tiles in their color groups, collect pencils and clear scraps. Wipe the tables and check beneath chairs for fallen squares.
Questions, answered.
What if a guest wants more than 12 tiles of one color?
Offer willing swaps, leave white spaces or color a few cells with pencils. If everyone wants the same background color, cut two extra sheets of that color into 200 additional tiles before the party.
Can we use ordinary paper instead of card?
Yes. Keep each paper board flat while arranging and gluing. Apply glue lightly and let the picture rest before moving it. A reused cardboard backing can help carry a finished page home.
Does this party need a video game theme?
No. Guests can make a letter, a face, a checkerboard or an invented creature. The square grid is simply the way they build the picture; the activity needs no game knowledge, devices or accounts.