
BIRTHDAY CRAFTS
Paper Party Hats: Make Adjustable Crowns for Eight
Make paper party hats by joining three strips into a band, decorating it flat and closing it after an adult checks the fit. We suggest a 60-minute crown workshop for eight children ages 5–12, including the birthday child. Guests can wear their creations or make tabletop decorations; no printer or template is needed.
Parents planning a birthday craft for eight children ages 5–12
Count supplies for eight crown makers
Choose two or three paper colors, then let guests invent their own designs. A row of triangles might become royal points, dinosaur spikes or mountains around a tiny imaginary kingdom. Keep a finished sample nearby, with one undecorated band to demonstrate the joins.
- Paper: 10 US Letter sheets of light cardstock, each 8½ × 11 inches. Allocate eight sheets to guests, one to the demonstration crown and one to a complete spare set.
- Drawing supplies: 8 pencils and 2 shared sets of crayons or colored pencils.
- Assembly supplies: 2 rolls of clear tape, 1 ruler and 1 pair of scissors kept with an adult. This version needs no elastic, string, staples or glue.
- Table setup: 8 workspaces, 2 supply trays, 1 scrap box and 1 clear surface for finished crowns. We suggest two adults for fitting and finishing.
Prepare three strips and three points per guest
Complete the cutting before the party. Each sheet supplies one crown set. Keep each set together so nobody starts with too few pieces. An adult can prepare the long bands in advance, leaving the final fitting for each guest.
- 1. With the sheet's 11-inch edges running vertically, cut three strips measuring 2 × 11 inches. The remaining piece measures 2½ × 11 inches.
- 2. Cut that remaining piece into three rectangles measuring 2½ × 3 inches, plus a small leftover piece. From each rectangle, cut a triangle with a 2½-inch base and a 3-inch height. Save the small leftovers for design sketches.
- 3. Join the three band strips end to end, overlapping each join by 1 inch. Tape both faces of each join. The open band is now 31 inches long; it will be shortened to fit.
- 4. Repeat for all ten sets: eight for guests, one sample and one spare. Leave the guest bands open and keep their three triangles loose.
Fit first, decorate flat, then close the crown
Explain the order before handing out drawing supplies. Everyone sketches a design on a leftover piece while an adult fits bands one at a time. Ask before touching or fitting a guest's head; anyone can choose the tabletop version.
- 1. Wrap the plain band loosely around the intended wearing position, above the eyes and ears. Ask whether it feels comfortable. Mark where the long end meets the starting edge, then mark a cutting line 1 inch farther along for the closing overlap.
- 2. Remove the band before cutting. For example, a comfortable loop measuring 22 inches needs 23 inches of paper, including its closing overlap. Keep the trimmed band open and leave its first and last inch undecorated.
- 3. Lay the band flat and draw a border, scales, zigzags or a bold emblem. Keep the design upright by marking the inside bottom edge with a small pencil arrow.
- 4. Decorate up to three triangles. Position their bottom inch behind the band, leaving the pointed tops above it. An adult tapes each triangle securely to the inside. Avoid placing them across the closing overlap.
- 5. Overlap the ends by the planned inch and tape both faces. Try the crown again. If it feels tight, remove it and have an adult rebuild the closing join with an extension from the saved band trimmings; do not pull it into place.
- 6. For a tabletop crown, choose a smaller loop and decorate it the same way. It can surround an imaginary paper castle or simply stand beside its maker.
Offer a design challenge that fits each guest
Give everyone the same materials and let them choose the amount of detail. Wearing a hat and showing it to the group are both optional. Keep all drawing and fitting reachable from a seated position.
- Ages 5–7: offer two paper colors and a choice between dots or stripes. Let the child decorate one triangle while an adult finishes the band and attaches the pieces.
- Ages 8–9: suggest a repeating three-shape border and a different picture on each crown point. Show the repeat on a scrap first.
- Ages 10–12: invite guests to invent an emblem and a two-color pattern for a fictional expedition, music festival or dinosaur club.
- For mixed-age helpers: the maker chooses placement and colors; the helper draws or assembles only the requested parts. Pointing to a choice counts as designing.
Run a 60-minute crown workshop
This is an activity block within a birthday celebration; schedule food and cake separately. Leave the sample where guests can see it. If fitting takes longer, shorten the sharing time.
- 0–10 minutes: welcome guests, show the sample and choose paper sets.
- 10–25 minutes: sketch designs while adults fit and trim the open bands.
- 25–40 minutes: decorate bands and triangles; adults attach finished points.
- 40–50 minutes: close the bands, check the fit and make adjustments.
- 50–60 minutes: offer an optional seated crown gallery, collect tools and place finished work on the pickup surface.
Prepare the table and send crowns home intact
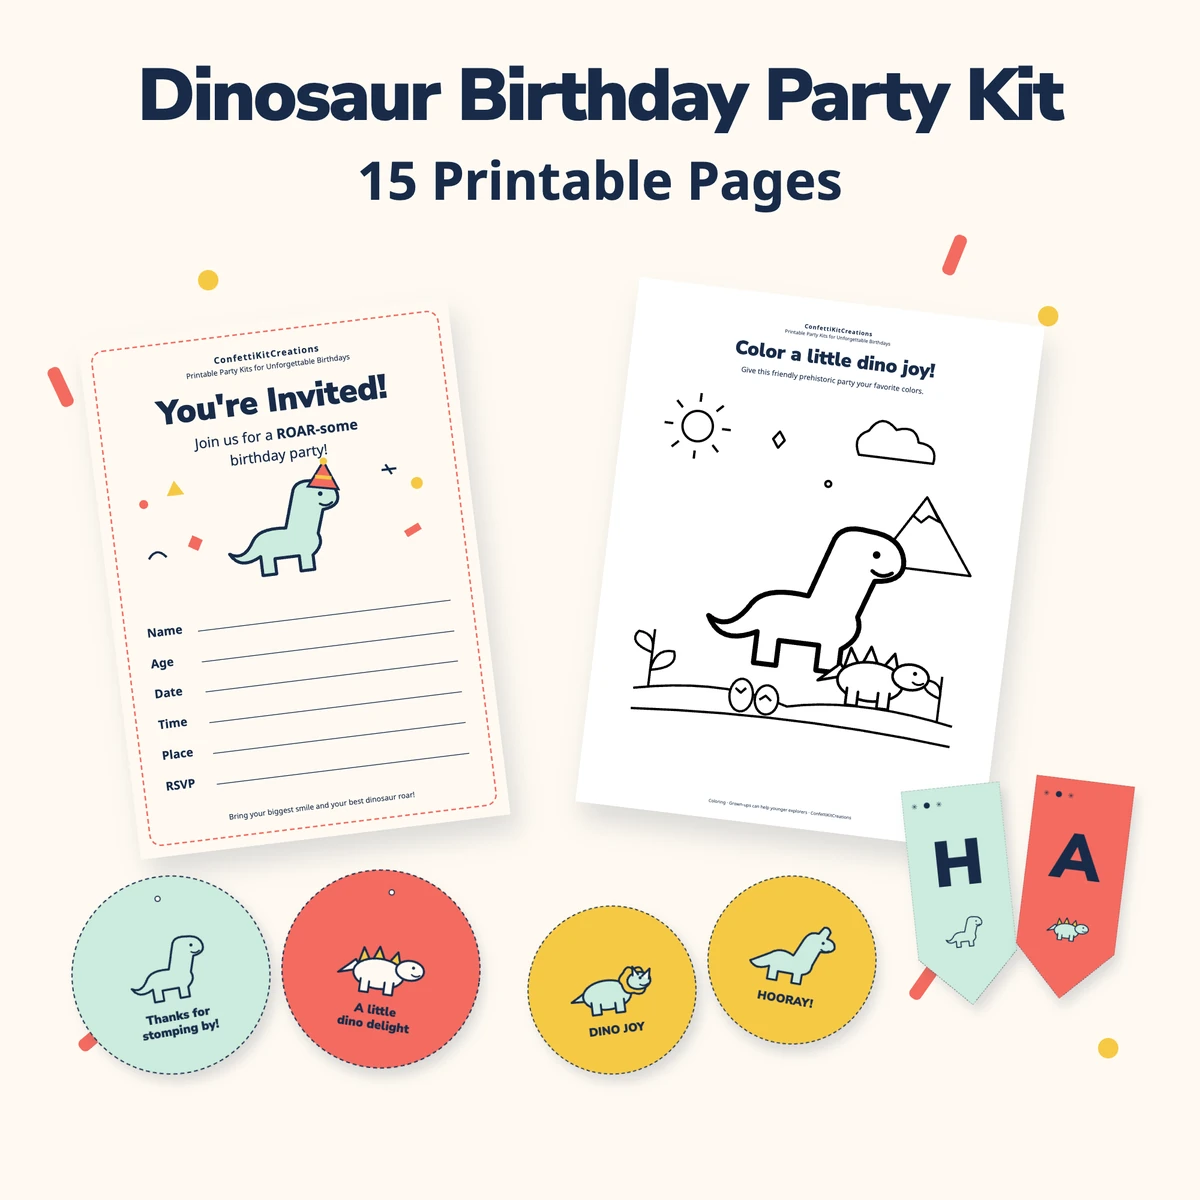
For a dinosaur celebration, our Dinosaur Birthday Party Kit is an optional matching printable collection: a non-personalized digital instant download with 6 PDFs / 15 pages, available through Etsy or Payhip. Purchases happen in those external stores, with no on-site checkout or physical shipment. These handmade hats are a separate DIY project, not files included in the kit.
- The day before: cut ten complete sets, assemble the open bands and finish one sample. Count eight guest sets and keep the spare with the adults.
- Before arrivals: put out pencils, colors and sketch scraps. Keep scissors at the adult station and leave space for the long, open bands.
- During making: save band trimmings for adjustments and add each maker's chosen symbol inside their crown.
- At pickup: carry crowns upright instead of flattening them into bags. Guests who prefer not to wear theirs can take a tabletop crown.
- Afterward: return pencils and tape, store usable paper pieces and clear the scrap box. Check the table and floor for loose tape.
Questions, answered.
Can we use A4 paper instead of US Letter?
Yes. Keep the band strips at 2 × 11 inches, but cut the triangle blanks at 2 × 3 inches so they fit the narrower leftover paper. Use the same fitting and attachment steps. The A4 version has slightly narrower crown points.
How do we scale this workshop for twelve children?
Prepare fourteen sheets: twelve guest sets, one demonstration set and one spare. Add four pencils and four workspaces. Allow an extra fifteen minutes for fitting and finishing, or add another adult to help.
Does every crown need three points?
No. Guests can use one, two or all three, or leave the band plain and draw a continuous pattern. Fewer pieces leave more time for coloring and make a useful choice for a shorter workshop.