
BIRTHDAY CRAFTS
Paper Flower Birthday Party: Make a Giant Garden Picture
For a paper flower birthday party, give each guest eight paper strips and a backing card. Turn the strips into looped petals, add a center and draw an oversized garden picture. We suggest this 90-minute celebration for eight children ages 6–12, including the birthday child, with simpler choices for younger siblings. Adults complete all cutting beforehand.
Parents hosting eight children ages 6–12, with younger-sibling options
Gather and cut supplies for eight flower makers
Each guest makes one raised flower on a whole backing sheet. Quantities include one demonstration flower and one complete spare. Use ordinary colored paper for petals. We suggest one adult demonstrating and another helping with joins and arrivals.
- Backing cards: 10 sheets of light cardstock, either A4 or US Letter. Keep them whole: eight for guests, one sample and one spare.
- Petals: 5 sheets of colored paper. From each, an adult cuts an 8 × 10-inch rectangle, divides it into two 5-inch-deep rows, then cuts each row into eight 1-inch-wide strips. This gives 80 strips measuring 1 × 5 inches.
- Centers and leaves: 2 more colored-paper sheets. From one, cut ten circles about 2½ inches across. From the other, cut twenty 1 × 3-inch rectangles and round their corners into leaf shapes.
- Shared tools: 8 pencils, 2 sets of crayons or colored pencils, 4 glue sticks, 1 roll of clear tape, 1 ruler and adult-use scissors. Add 2 supply trays and 1 scrap box.
- Refreshments: 8 plates, 8 cups, 16 napkins, water and the planned snack and cake. Count attending adults separately.
Make the loops and assemble the flower
Set each backing sheet upright. Mark a dot halfway across, 3½ inches below the top, then draw a faint 2-inch circle around it. Draw a stem from the circle toward the bottom edge. Demonstrate one loop before guests begin.
- 1. Choose eight strips. For alternating colors, arrange four of each before gluing.
- 2. Curve one strip until its short ends meet, without creasing the curved middle. Glue the inside of the last ½ inch at one end, overlap the matching end directly on it and press. This makes a loop with a flat joined tab.
- 3. Repeat for the remaining strips. Let the joins hold before attaching them. If a tab springs apart, press again or ask an adult to secure it with a small piece of tape.
- 4. Arrange the eight loops around the pencil circle like sunshine rays. Keep the flat joined tabs inside the circle and point the curved ends outward. Leave enough space between petals to see their individual shapes.
- 5. Lift one loop at a time and glue only the underside of its flat tab to the backing. Press the tab onto the card without squashing the loop. Work around the circle until all eight are attached.
- 6. Glue the center circle over the joined tabs. Press around its middle gently, then leave the picture flat while the joins set.
Give the flower a garden of its own
Glue two leaves beside the drawn stem, pressing them flat. Add soil, a plant pot or a winding path below the flower. Draw around the petals rather than leaning on them. Purple stems and striped leaves are welcome.
Offer an optional finishing prompt: invent a name and a surprising feature for this flower. Perhaps its petals collect jokes, or its leaves unfold into tiny umbrellas. Guests can write a label, draw the feature or dictate it to a helper.
- Make a shared garden by placing pictures side by side on a clear table. Keep them separate for taking home.
- During the garden visit, invite each child to point out one detail or pass. Guests stay seated if they prefer, while an adult holds up pictures individually.
Adjust the making without changing the invitation
Let guests choose from these options. Keep materials within reach of seated makers and show each step with a sample strip. A helper can hold a tab while the child decides where it belongs.
- Ages 4–5: provide four loops already joined by an adult. Space them around the center, then draw extra petals in the gaps. Offer crayons for the garden and let the child choose every color.
- Ages 6–8: demonstrate one loop at a time and keep the sample nearby. Start with eight strips in one color if arranging a pattern adds too many decisions.
- Ages 9–12: suggest alternating colors, drawing a border that echoes the petal pattern or designing a fictional plant label with a name and three illustrated features.
- For anyone who prefers a flat picture: glue the strips flat as rays around the center. Keep the same leaves, garden prompt and sharing choices.
Follow this 90-minute birthday schedule
If making runs long, leave out the plant label and shorten the garden visit. Preserve time to clear the table before refreshments.
- 0–10 minutes: welcome guests, choose paper sets and write names or identifying symbols on the backs of the cards.
- 10–20 minutes: demonstrate the loop, draw stems and arrange the petal colors.
- 20–45 minutes: join the eight loops, attach petals and add the flower centers.
- 45–55 minutes: add leaves, draw garden details and create optional plant labels.
- 55–65 minutes: visit the shared garden, then move pictures to a separate flat surface and clear craft supplies.
- 65–85 minutes: wash hands and enjoy the planned snack, cake and birthday moment.
- 85–90 minutes: collect pictures individually and return shared tools to their trays.
Pack the raised flowers without flattening them
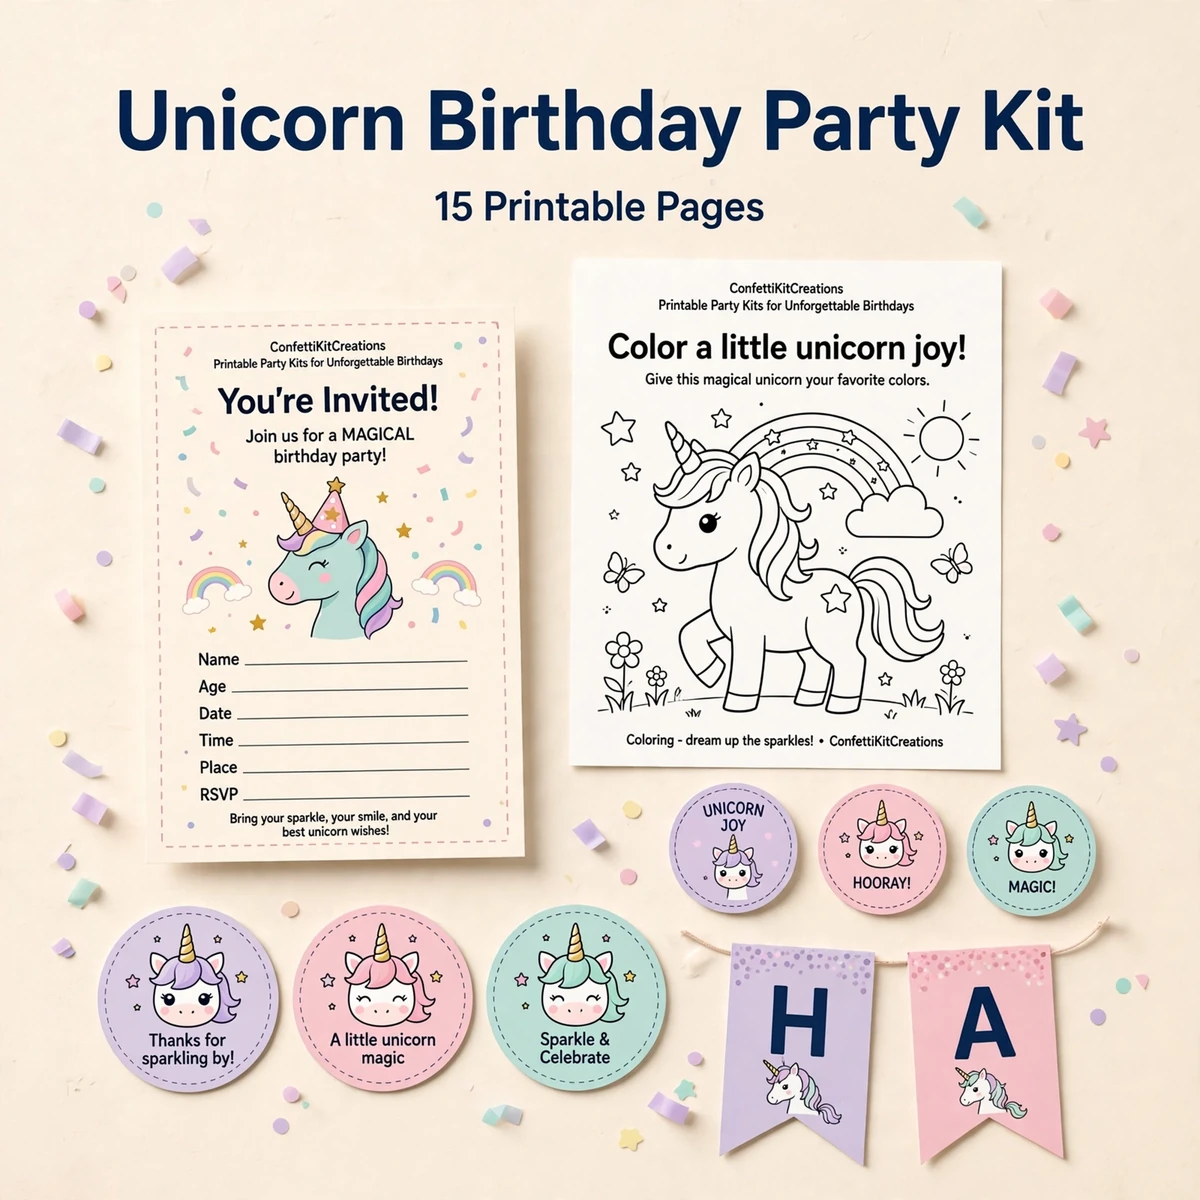
For a unicorn garden birthday, our Unicorn Birthday Party Kit is an optional companion: a non-personalized digital instant download with 6 PDFs / 15 pages, available through Etsy or Payhip. Purchases happen in those external stores, with no on-site checkout or physical shipment. This paper flower project is a separate DIY activity, not a file included in the kit.
- The day before: cut all pieces and make the demonstration flower. Check that its tabs hold and that the petals fit within the backing sheet.
- Before arrivals: count out eight guest sets, each with eight strips, one center, two leaves and one card. Keep the complete spare separate and put scissors away.
- Before pickup: check for loose tabs and repair them. Carry pictures flat with petals facing upward; keep other belongings off the top. Avoid closing them inside folders.
- Afterward: cap glue sticks, return pencils and crayons, save usable paper offcuts and collect scraps and loose tape from the table and floor.
Questions, answered.
Do we need a printer or flower templates?
No. The flowers use measured strips, roughly circular centers and rounded leaf shapes. Small differences between pieces are fine. Draw the backing circle lightly by hand; it is a placement guide that the flower center will cover.
Can this work as a 45-minute activity?
Yes. Have an adult join the petal loops beforehand. Allow five minutes to choose colors and demonstrate placement, twenty minutes to assemble, ten minutes to draw the garden and ten minutes to tidy and collect pictures. Schedule refreshments separately.
What if a guest wants to make a second flower?
Keep the spare set for repairs. For two pictures per guest, add eight backing cards, 64 petal strips, eight centers and sixteen leaves. Extend the making time or prepare the second flower’s loops in advance.