
HALLOWEEN PARTY IDEAS
Halloween Treat Bag Assembly: A Plan for 24 Guests
Make one complete Halloween treat bag before starting the batch: measure the bag opening, test a topper and check the closure. Then work in small batches. We suggest 27 finished bags for 24 guests, leaving three spares. This ConfettiKitCreations plan covers supplies, printing and an adult assembly station, with optional jobs for younger children and tweens.
Parents preparing Halloween favors, with optional helpers ages 4–12
Measure the opening before choosing a topper
Lay an empty bag flat and measure straight across its opening, from outside edge to outside edge. Record this width. For a gusseted bag, flatten the top as you intend to close it. Use this measurement when checking a printable's stated finished width.
Put the planned contents into one bag and try closing it. Leave enough empty space above the contents for the closure and folded topper. If everything crowds the top, reduce the contents or choose a taller bag.
- For a handmade topper, try a rectangle as wide as the flattened opening and 3 inches tall. Fold it in half to create a front and back each 1.5 inches deep.
- These are DIY starting dimensions, not our product's measurements. Test the paper rectangle on the filled bag before cutting a batch.
Count supplies for 27 finished bags
Confirm the guest count and contents with caregivers before shopping. For classroom handouts, agree on contents and distribution with the teacher. Keep any separately requested bags identified on an adult packing list.
- Bags: 30 of the size you tested—27 to fill, one for the test sample and two replacements for damaged bags.
- Contents: 54 individually wrapped treats for two per bag. Alternatively, use 27 sticker sheets and 27 handmade drawing cards for a paper-only version. Keep original food wrappers and ingredient information available.
- Toppers: at least 30 usable pieces, including three cutting spares. Count usable toppers on each page you actually plan to print; eight designs does not mean eight toppers per sheet.
- Paper: divide 30 by the usable toppers per sheet and round up. For example, four per sheet means eight batch sheets, plus one test sheet. This is sample arithmetic, not the product's layout.
- Tools: one ruler, adult-use scissors, one roll each of clear and double-sided tape, one pen, three trays and a scrap box. Allow two tested adhesive strips per topper, plus tape for bag closures.
- For the paper-only option: an adult cuts seven plain sheets into quarters to make 28 drawing cards. Add a prompt such as: Draw a pumpkin wearing a surprising hat.
Print and assemble one complete test
Read the download's sizing and printing instructions. Use paper your printer supports and print one selected page before the batch. Measure a cut topper against your bag, fold it and check that the front design sits upright.
Close the sample bag, then try attaching the topper with double-sided tape between the paper and the outside of the bag. Check both sides, lift the finished bag and make sure the topper stays attached. If tape lifts, change the tape or bag and repeat the test. Return the sample contents to your supply and keep the empty sample beside your work area.
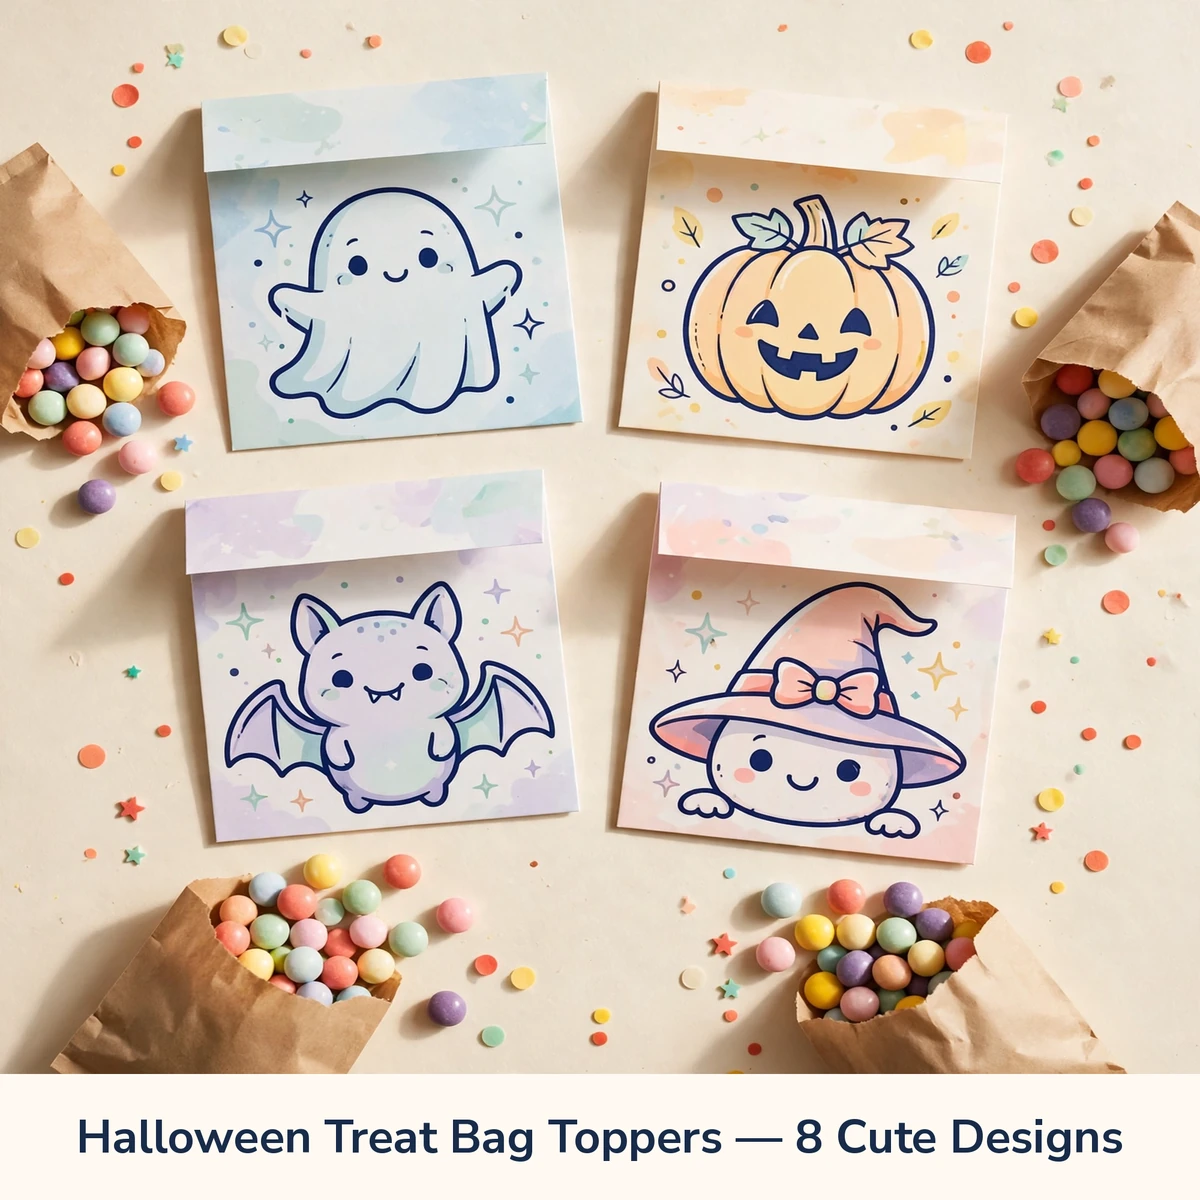
Our Halloween Treat Bag Toppers offer eight fold-over designs as a non-personalized digital instant download through Etsy's external checkout. No physical items are shipped. You supply paper, bags, contents and assembly materials. The handmade topper, drawing cards and packing plan here are separate DIY ideas, not additional included files.
- If the topper is too narrow, recheck the printing instructions and measured bag width before printing more. Choose a matching bag or make the handmade version to fit.
- Once the sample works, print the calculated batch. Set aside any clipped, smudged or damaged pieces before counting usable toppers.
Set up an adult finishing station
Arrange three trays in order: empty bags and contents, filled bags awaiting finishing, and completed bags. Keep scissors and tape at the adult's seat, with a scrap box beside it. Work in three batches of nine so a missed item is easy to spot.
- An adult cuts and folds the toppers first. Keep one completed sample visible and leave the replacement bags and spare toppers to one side.
- Fill nine bags with the agreed contents. Check all nine before closing them; use a separate batch for any different contents.
- Close each bag using its own seal, or fold and tape the opening closed as tested. Center the folded topper over the closed top and attach both sides using the successful sample method.
- Check contents, closure and attachment, then move each bag to the finished tray. Mark off nine on the packing list before starting the next batch.
- Ages 4–7: offer an optional job choosing a topper or counting finished bags with an adult. Children can point while an adult moves the pieces.
- Ages 8–12: offer sorting toppers into groups of nine, drawing the optional cards or checking totals against the list. Adults keep responsibility for cutting, final attachment and contents checks.
- For any age: place a tray within seated reach, give one instruction at a time and allow watching or taking a break.
Allow a 75-minute packing session
This example starts after the sample is approved and batch printing is complete. Treat it as a planning allowance; add time if your first few bags take longer or children want to decorate cards.
- 0–10 minutes: clear the table, count contents and arrange the three trays.
- 10–25 minutes: an adult cuts and folds the batch of toppers.
- 25–45 minutes: fill and check three batches of nine bags.
- 45–65 minutes: adults close bags, attach toppers and inspect each finished batch.
- 65–75 minutes: count 27 completed bags, separate the three spares and tidy the table.
Prepare ahead and finish with a quick checklist
Keep finished bags in a shallow box without pressing down on the toppers. Label the box with the total and distribution plan so another adult can handle handout time.
- Several days before: confirm attendance, agree on contents, measure a bag and make the complete sample.
- The day before: print and pack. Keep any bags with different contents separately identified for adult distribution.
- Before handout: recount the main group of 24 and the three spares; check for loose attachments.
- After packing: save usable spare toppers, collect tape backing and paper scraps, put scissors away and wipe the table.
- After handout: check the floor and trays for packaging scraps, then store unused supplies together for another project.
Questions, answered.
Can we make these bags without a printer?
Yes. Cut and fold plain paper using the measured bag width, then draw pumpkins, stars or friendly faces. Test one finished bag first and use it as the assembly example.
How do we adjust the quantities for a smaller group?
Choose the guest count plus your preferred spare bags. For 12 guests and two spares, make 14 bags and allow 28 contents if packing two per bag. Add replacement bags and cutting spares separately.
Do all eight topper designs have to be used?
Plan around the designs you want and check how they are arranged in the download. Count only the usable toppers on the pages you select when calculating copies; do not assume each design has a separate page.