
FRIENDSGIVING PLANNING
Friendsgiving Potluck for Eight: A Simple Host Checklist
A Friendsgiving potluck is easier to host when everyone knows what to bring before the group chat fills with three offers of dessert. Start with eight seats, a short menu and a clear arrival window. This plan divides the work between the host and seven friends, leaves room for people who would rather help than cook, and keeps the table simple enough that the host can sit down too.
Eight adults, including the host · A relaxed home potluck
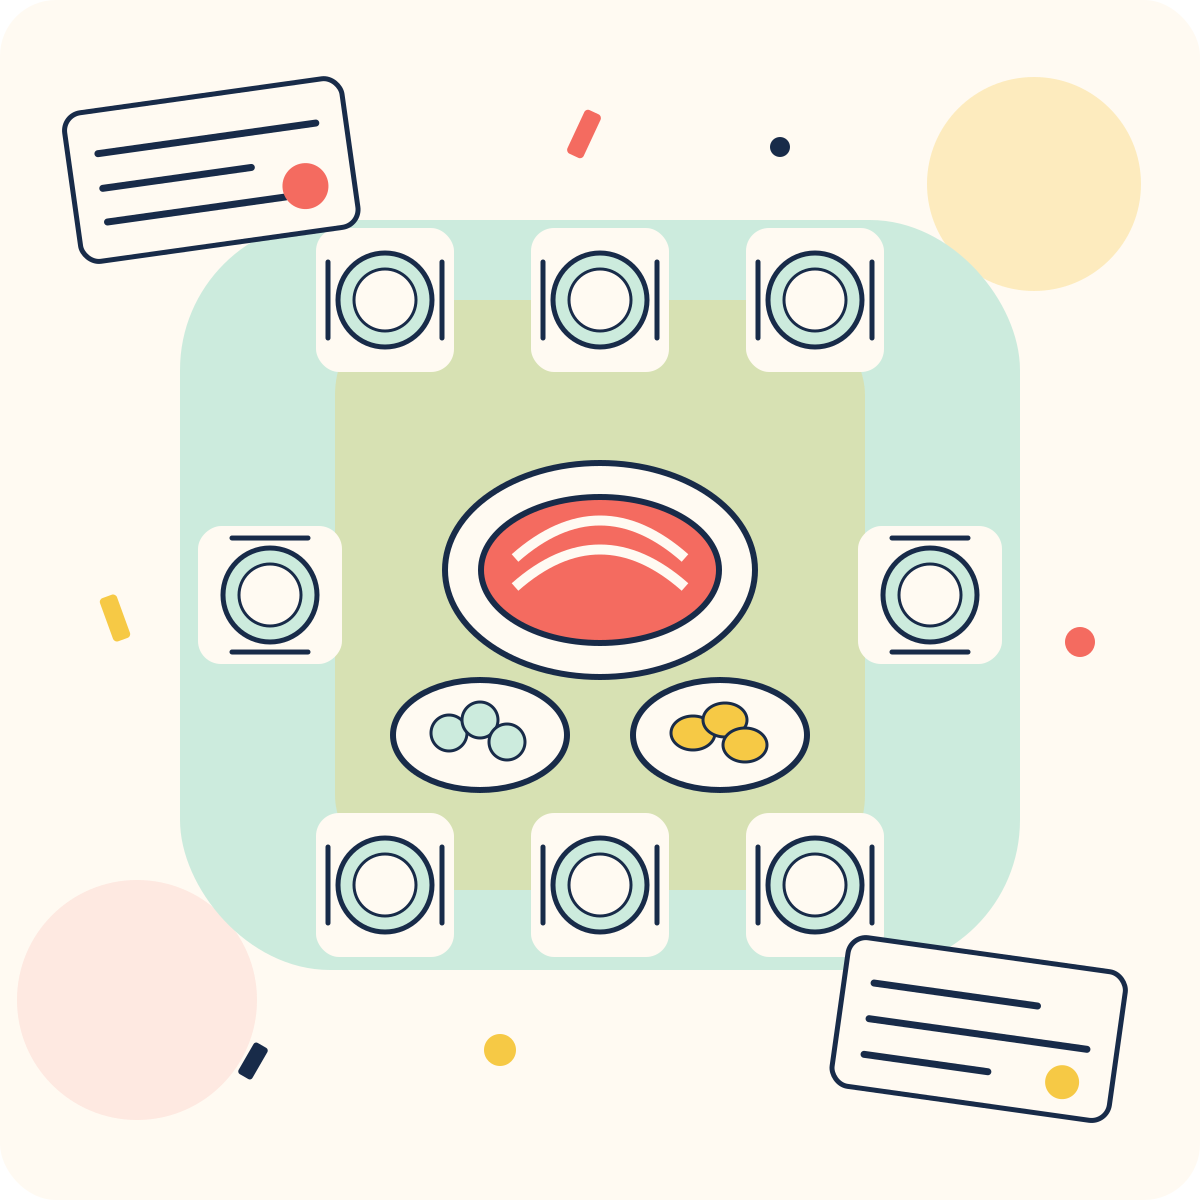
Send one invitation with the useful details
Choose the date, arrival window, meal time and approximate finish before discussing recipes. Friendsgiving can happen whenever your group is available; it does not have to compete with anyone's family plans. An invitation might say: Come between 5 and 5:20, we will eat around 5:30, and we will wrap up by 7:30. We are sharing a simple meal, and bringing something homemade is optional.
Ask each guest to confirm attendance and tell you privately about dietary needs or practical arrangements that would help them join. Share the relevant menu requirements with the people preparing dishes. Ask cooks to provide their ingredients, and avoid promising that a dish meets a particular need unless its preparer has checked. Keep the final menu in one message or shared note so updates do not disappear among replies.
Make the contribution flexible. A guest can bring a dish, pick up an agreed item, help set the table or simply come along. Choose a menu that still works when someone cannot contribute money or cooking time.
- Confirm eight people total, including the host, before assigning portions.
- Include the address, arrival window, meal time and any useful parking or access details.
- Name one person, usually the host, who will confirm the menu and changes.
- Ask contributors to mention any oven, refrigerator or serving-space needs in advance.
Give every contribution a clear job
Use the following as an example allocation, then let people swap jobs. The point is to cover the meal once, not to make every person prepare a full dinner. Two people arriving together can share one dish and take another small job only if they want it.
Ask for a main dish planned to serve eight and sides that offer eight modest side portions. Use the chosen recipes' stated yields as a starting point, then adjust for your group's appetites and the rest of the menu. Eight portions of a side are not eight main-course servings. For dessert, choose something you can divide into eight portions, with extra only if you actually want leftovers.
- Host: the main dish, the final menu and a clear place to serve everything.
- Guest 1: a vegetable side, with its own serving utensil.
- Guest 2: a starch such as rice, potatoes or a grain dish, with its own serving utensil.
- Guest 3: a salad or another agreed dish that does not compete for the oven.
- Guest 4: dessert, already portioned or easy to portion at the gathering.
- Guest 5: agreed drinks, including a nonalcoholic choice; the host supplies drinking water.
- Guest 6: bread or another small extra after checking what the menu needs.
- Guest 7: an agreed setup or clearing job, such as arriving early to arrange seats.
Set eight places without buying a matching collection
Count what you already have before shopping. Mixing plates and glasses is fine. Put a complete place setting at each seat and check that the person sitting there can reach the table comfortably. If eight settings do not fit, plan a second comfortable eating area instead of squeezing in chairs and hoping it works.
For simple paper details, use five sheets: cut two into quarters for eight name cards, two into quarters for eight dish labels, and keep one whole sheet for the host's menu and arrival notes. The example menu has six food contributions, leaving two dish labels spare. Fold each card once to stand it up. Write the dish name and preparer's name; keep a fuller ingredient list with the dish when needed.
A paper runner, folded napkins or a few handwritten cards can be the entire decoration plan. Keep the middle of the eating table available for passing dishes and seeing the person opposite you.
- Eight dinner plates, eight dessert plates or bowls, eight glasses and eight cutlery sets appropriate to the menu.
- Sixteen napkins as a simple planning allowance: one for the meal and one for dessert per guest.
- Six food-serving utensils for this sample menu, adjusted if a dish needs more than one tool.
- Five paper sheets, two pens and scissors used before guests arrive.
- Trivets for hot dishes, a clear place for used plates and enough suitable containers for the leftovers you intend to keep.
Plan the arrival route before the dishes arrive
Give incoming dishes a clear landing place away from coats and bags. A second area holds drinks, and the eating table stays ready for guests. Ask contributors to bring food in suitable covered containers and tell you what needs attention when they arrive. Do not promise the same oven shelf to several dishes at the same time.
The day before, write each dish's name, owner, arrival time, serving utensil and storage or heating needs on the host sheet. Confirm any heating instructions with the person preparing it. If a dish needs equipment you do not have, change that contribution before the gathering. Avoid making unfamiliar reheating decisions while other guests are waiting to eat.
USDA food-safety guidance calls for cold food at 40°F or below and hot food at 140°F or above during holding. Perishables outside those holding temperatures should be refrigerated within two hours, or one hour when the surrounding temperature is above 90°F; discard food left out beyond those limits. Include time out during transport and preparation, rather than starting a fresh clock at the table. Use small serving dishes and replace them with fresh portions rather than topping up an old dish. These are holding limits, not cooking-temperature instructions; follow appropriate guidance for preparing each dish. The USDA references below cover buffet service and leftovers.
- Ask each cook to bring the correct utensil and a way to identify their container.
- Keep refrigerator space available for food that does not need to be on the table yet.
- Choose one helper to guide arriving guests and another to help clear after the meal.
- Keep the menu small enough to serve with the equipment and space you actually have.
Use a relaxed two-and-a-half-hour schedule
This is a social timetable, not a reason to leave food out for the whole event. Follow the storage plan as each dish arrives and put perishables away promptly after serving. If the meal runs late, shorten the optional activity instead of rushing guests through dinner.
Put water and glasses where people can help themselves. Once everyone has a place and the serving area is ready, sit down with them. A few unfinished decorative details matter less than having the host present for the meal.
- 0–20 minutes: welcome guests, put dishes in their planned places and point out drinks and seats.
- 20–30 minutes: introduce the menu and invite guests to serve themselves or ask for help.
- 30–75 minutes: enjoy the meal and leave conversation unhurried.
- 75–90 minutes: clear the main course together and store food promptly according to the holding plan.
- 90–115 minutes: serve dessert and drinks.
- 115–135 minutes: offer a short table activity or let conversation continue.
- 135–150 minutes: return labeled containers, agree on any suitable leftovers to take home and say goodbye.
Close with a small keepsake, not another hosting task
For an optional five-minute activity, ask guests to turn over their name cards and complete one sentence: At our imaginary picnic, I would bring… They can choose an ordinary food, a ridiculous invention or a drawing. Go around once, letting each person share or pass. No one needs to perform gratitude or explain a private family story.
Guests can take their cards home. If the group wants another Friendsgiving, let each person suggest one thing to repeat and one thing to simplify while the meal is still fresh in their minds. The next host can use those ideas instead of starting from a blank page.
Finish the practical jobs with a helper: return serving utensils, check which containers belong to whom, separate recycling and put away reusable table pieces. Save the host sheet with notes about portions and timing. That small record is more useful for next year than a plan that depends on remembering every detail.
Questions, answered.
Does the host have to cook the main dish?
No. That is simply the sample allocation. A willing guest can bring the main while the host takes another contribution. Confirm portions, transport and any equipment needs before deciding who makes it.
What should we do if someone cancels with a dish?
Check what the remaining menu already covers before replacing it. A missing extra side may not need a substitute. If the main dish or an essential dietary option is affected, agree on a workable replacement with the remaining contributors.
Can we use this plan without a printer or special decorations?
Yes. The five-sheet example uses handwritten cards and one planning sheet. Reuse existing tableware, skip the name cards if they are not useful and put your effort into a clear menu and comfortable places to sit.