
BIRTHDAY CRAFT PARTIES
Flipbook Birthday Party: Make Tiny Paper Movies
For a flipbook birthday party, give each guest a small stack of cards, draw one movement in stages, then clip the pictures together and flip. We suggest this two-hour plan for eight children ages 8–12, including the birthday child. Everyone makes a tiny paper movie to take home, with time for testing, cake and an optional premiere.
Parents hosting children ages 8–12, with adaptations for ages 5–7
Gather supplies for eight movie makers
Use matching cards throughout each book. The ICA Boston flipbook activity recommends index cards or thick paper, with the drawings on the right side and the binding on the left. Our party version uses 24 drawing cards and one removable title card per guest.
- Cards: 250 blank 3 × 5-inch index cards—200 for eight guest books, 25 for your demonstration book and 25 shared replacements.
- Tools: 10 binder clips that fit the stacks, 8 pencils, 4 erasers, 8 rulers and 2 shared sets of colored pencils. An adult handles opening and positioning clips.
- Planning and packing: 8 sheets of plain paper, 8 envelopes large enough for the clipped books, 1 supply tray and 1 scrap container.
- Refreshments: 8 plates, 8 cups, 16 napkins, water and the agreed snack and cake. Count attending adults separately.
Prepare one sample and explain the page order
Make your demonstration book before the party using the spacecraft instructions below. Test the exact cards and clips you plan to provide. If making cards from larger sheets, an adult does all cutting beforehand; consistent rectangles matter more than decorated covers.
Place cards landscape. Number the drawing sides 1–24 in the upper-left corner. Keep pictures in the right half, leaving room for the clip on the left. Each card holds one stage of the movement, called a frame.
Stack frame 1 at the bottom, then frame 2 above it, continuing until frame 24 is on top. Align the right edges and clip the left edge. Hold the clipped side, curl the free edge upward with your other thumb, then release cards from the bottom upward. Practice until the drawings pass in order.
Keep the title card separate during playback and add it on top for packing. Show guests the sample once slowly, card by card, then as a flipbook. Explain that they will repeat one small drawing with a little change.
Draw a spacecraft crossing a tiny sky
Our starter movie is a small square spacecraft traveling to the right. Sketch the idea on the planning sheet first. Keep the spacecraft the same size throughout; windows, flames and backgrounds can wait until the movement works.
Make 12 positions, drawing each position twice to produce 24 frames. The National Museum of Australia suggests repeating drawings as one option when making a flipbook. Here, guests work through pairs of cards so the sequence stays manageable.
- Frames 1–2: draw a 5 mm square on both cards, with its center 5 cm from the right edge and 2 cm above the bottom edge.
- Frames 3–4: draw the same square 3 mm farther right, keeping its height unchanged. Its center is now 4.7 cm from the right edge.
- Frames 5–24: continue in pairs, shifting right another 3 mm for each pair. The final pair has the square’s center 1.7 cm from the right edge.
- Check every three pairs: arrange the six cards in number order on the table. The square should move right in small steps, with each position appearing twice.
- Once the sequence works, add one consistent color to the spacecraft. Save an elaborate scene or a second moving object for another book.
Test the movement and offer different ways to join
Ask before handling another maker’s cards, keep each stack at its owner’s place and offer help without redrawing their work. Pair guests for testing: one operates their own book while the other notices what changes, then swap roles. A helper can flip a book while its maker watches.
If cards skip, tap the right edges level and refit the clip. If the spacecraft jumps unexpectedly, inspect the numbered sequence. If it travels backward, reverse the drawing-card order. Try different thumb pressure and flipping speeds before changing the artwork.
- Ages 5–7: prepare the 24 squares in advance. Guests choose a color, decorate the title card and direct an adult’s flipping. They can also arrange six selected frames as a picture sequence.
- Ages 8–12: offer the measured spacecraft route or an original single movement, such as a mouth gradually opening. Sketch the beginning and ending before filling the stages between them.
- For easier participation: a guest can point to the next position while a helper draws. Numbering, choosing colors and directing the test are useful jobs; sharing with the group stays optional.
Follow this two-hour birthday schedule
Seat everyone around a table with room for separate stacks. Clear cards before refreshments. If drawing takes longer, shorten the decoration block and keep cake and pickup on time.
- 0–10 minutes: welcome guests and sketch spacecraft ideas on the planning sheets.
- 10–20 minutes: demonstrate your sample, explain frame order and number the cards.
- 20–55 minutes: draw the 12 pairs, checking each group of six cards.
- 55–65 minutes: clip the stacks, test movement and fix ordering or alignment.
- 65–85 minutes: put books aside, wash hands and enjoy snack and birthday cake.
- 85–105 minutes: finish drawings, add color and make title cards.
- 105–115 minutes: offer paired premieres or quiet finishing time.
- 115–120 minutes: pack books, collect supplies and welcome caregivers for pickup.
Prepare ahead and send the movies home
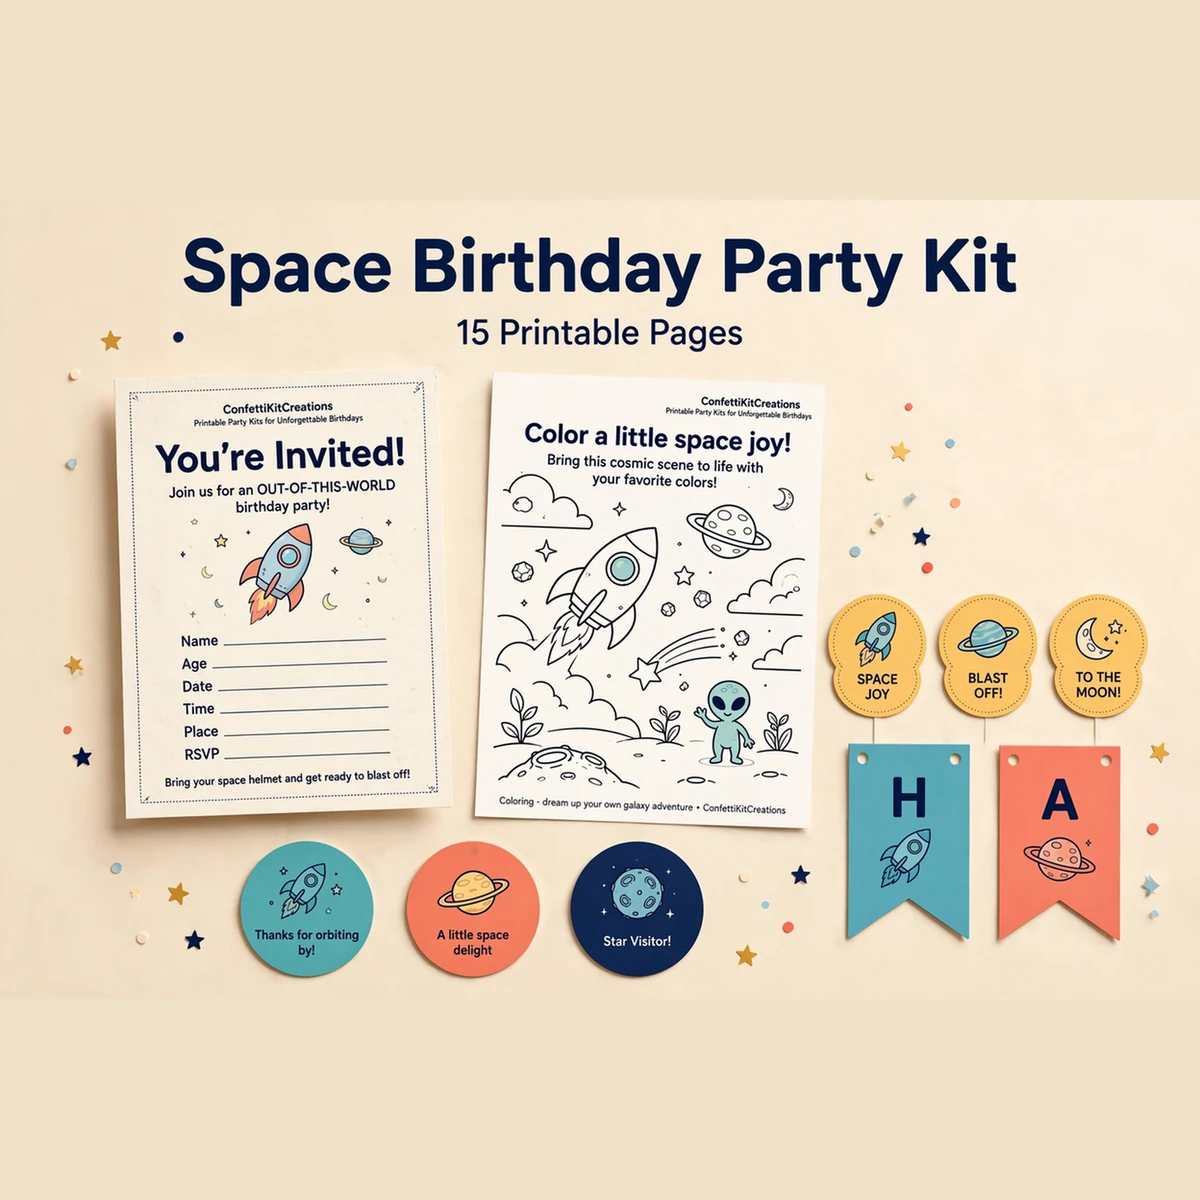
For a space-themed celebration, our Space Birthday Party Kit is an optional companion. It is a non-personalized digital instant download with 6 PDFs / 15 pages, available through Etsy or Payhip, with no physical shipment. Purchases happen in those external stores; Party Kit Studio has no on-site checkout. This flipbook project is separate from the kit’s included files.
- Before party day: confirm guests and refreshments, make the demonstration book and check that each clip holds 25 cards.
- Before arrivals: divide eight sets of 25 cards, place tools within reach and keep replacement cards with the host.
- At packing time: check the frame order, add the title card and write the maker’s chosen name on the envelope.
- After pickup: count tools and spare clips, save unused cards, collect scraps and wipe the table.
Questions, answered.
Do we need a printer or an animation app?
No. The plan uses blank cards, pencils and clips. Guests draw every frame themselves; there is no template to download or screen to operate.
What if a guest does not finish all 24 frames?
Keep the completed frames in order and try the shorter sequence. Pack unused cards with the book for finishing later. If it is difficult to flip, lay the drawings out in order and enjoy the movement one picture at a time.
How do we adjust the supplies for four children?
Allow 150 cards: 100 for four guest books, 25 for the demonstration and 25 replacements. Use six clips, four pencils, four rulers, four planning sheets and four envelopes. Halve the guest refreshment quantities.