
BUDGET BIRTHDAY DECORATIONS
Budget Birthday Decorations at Home: One Display, Less to Buy
For budget birthday decorations at home, choose one display, two favorite colors and supplies you already own. We suggest a paper birthday sign, a twelve-link chain and eight folded guest cards. This plan is for eight children ages 3–12, including the birthday child, with an optional printable swap.
Parents decorating a home birthday for eight children ages 3–12
Set a decoration limit and choose one focal point
Set a spending limit for decorations, separate from food and activities. Make three columns: already own, can borrow and still need. Buy only the missing materials. Include paper, printing and assembly supplies in the total, using actual receipts or a print shop’s quote.
Choose a sideboard or one end of a table as the display. Measure the space and leave room for serving and activities. Use a clean cloth, one tray and a favorite book or existing theme toy. Let the birthday child pick two accent colors from supplies you have.
- Prioritize the sign and guest cards. Add the chain if you have the paper and time.
- Keep a small amount of your decoration allowance unspent until the paper test and supply count are finished.
Gather a decoration basket for eight children
These quantities cover the handmade version. Use the blank side of clean scrap paper for drawing. Check the basket before shopping; reuse a cloth and tray from another room.
- Paper: 9 sheets total—7 plain sheets for 1 sign, 8 cards made from 4 sheets and 2 spares, plus 2 colored sheets for the chain.
- Display pieces: 1 clean cloth, 1 existing tray and 1 favorite book or theme object. Choose stable pieces that fit the surface.
- Assembly tools: 1 pair of adult-use scissors, 1 ruler, 1 glue stick and 1 roll of clear tape for joining paper.
- Drawing tools: 1 dark marker and 1 shared set of colored pencils or crayons.
- Packing: 1 scrap container and 1 envelope or small box for decorations you want to keep.
Make the sign, paper chain and folded guest cards
An adult handles cutting. Make the pieces beforehand, leaving the cards ready for optional guest decorating. Arrange the display away from candles and other heat sources, and keep the walking route clear.
Ages 3–7 can choose colors and draw one large picture on a card, with an adult writing any requested words. Ages 8–12 can invent a repeating border or matching symbol. Tweens may prefer bold lettering and a simple two-color design. Anyone can point to choices or direct a helper; decorating and showing finished work are optional.
- Sign: fold one plain sheet in half into a standing tent. Write HAPPY BIRTHDAY on an outer face and add a colored border. Place it where guests can see the message.
- Chain: place each colored sheet upright and cut it into six equal strips running from top to bottom, making twelve strips altogether. Curve the first strip into a loop, overlap the ends about an inch and secure with tape or glue.
- Thread the next strip through the first loop before closing it. Continue, alternating colors, until all twelve links are joined. Let glue dry, then lay the chain along the back of the display.
- Cards: cut four plain sheets in half, then fold each half into a standing card. Set one at each child’s place, with drawing tools available. Finished cards can join the birthday display or go home.
Count the printable pages you actually need
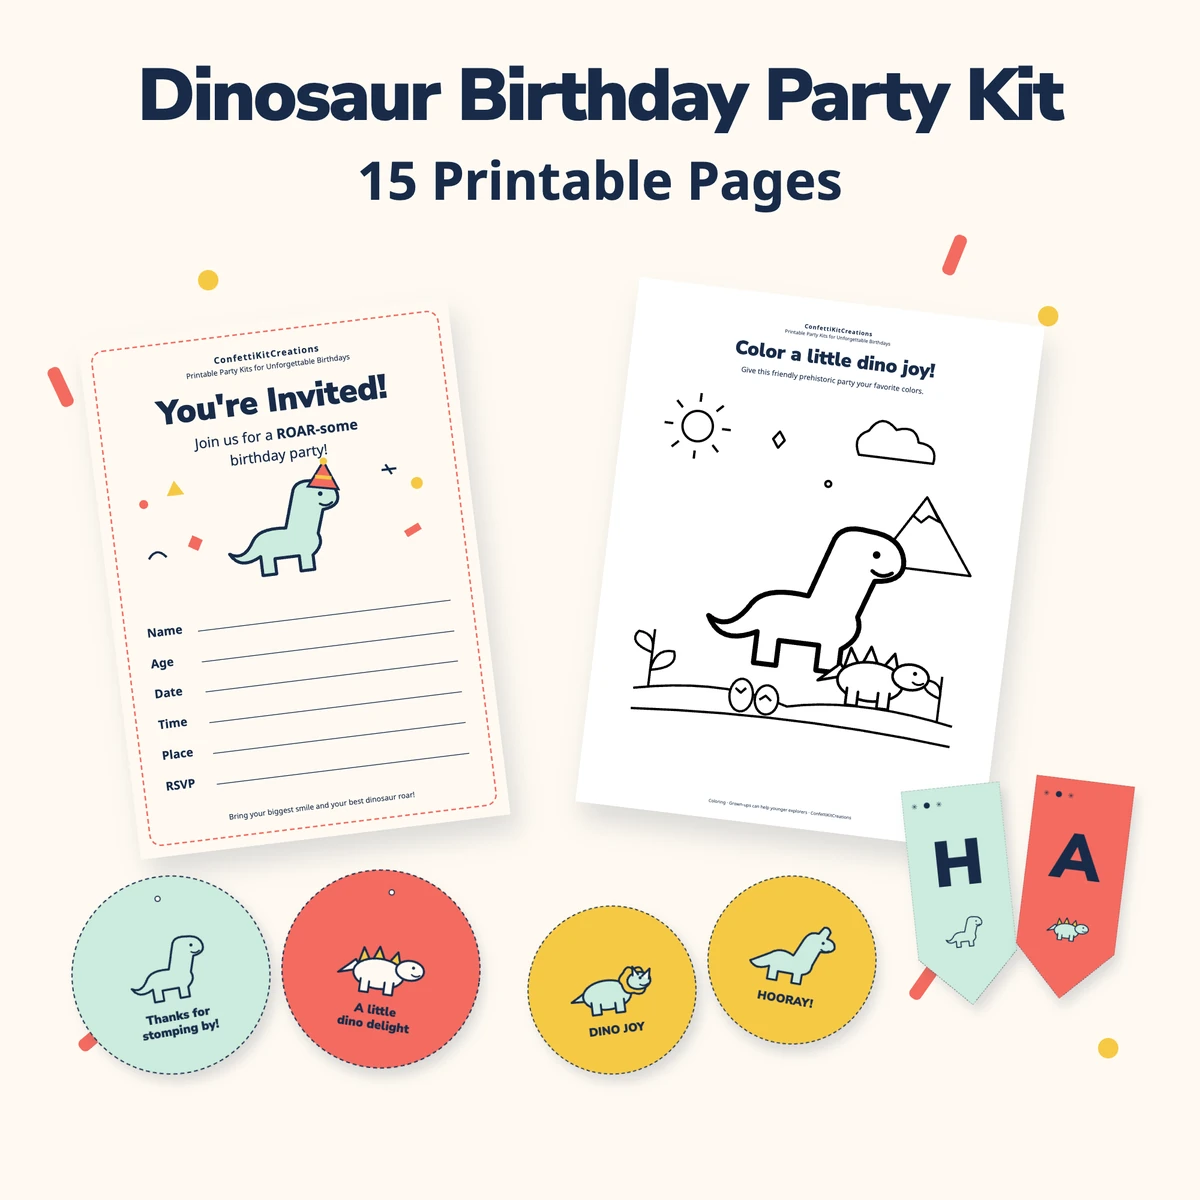
If the birthday child chooses dinosaurs, our Dinosaur Birthday Party Kit is an optional source of matching decorations. It is a non-personalized digital instant download with 6 PDFs / 15 pages, available on Etsy or Payhip. Purchases happen through those external stores; Party Kit Studio has no on-site checkout, and no physical items are shipped. The handmade projects here are separate DIY ideas.
Select the pages you need. Divide the quantity of repeated pieces by the pieces on a sheet, rounding up. The dinosaur favor-tag sheet holds twelve tags: eight guests need one sheet, with four left over; twenty guests need two sheets, with four left over.
- Optional swap: replace the handmade sign and chain with the dinosaur banner, which has thirteen letters across seven sheets. Print one tag sheet and attach eight tags to the folded guest cards.
- Paper allowance for that swap: 8 successful printed sheets, 1 extra sheet for a possible reprint and 4 plain card sheets—13 sheets available in total. A usable test page counts among the eight successful prints.
- Add string and suitable display attachments for the banner. Follow the included printing and assembly instructions, and confirm your printer supports the chosen paper before buying it.
Use this one-hour setup timeline
Here is an example for the handmade version. Complete it the day before, leaving placement for party day. For printables, test and print earlier and allow separate cutting time.
- 0–10 minutes: clear the display surface, gather existing supplies and check the spending list.
- 10–25 minutes: an adult cuts twelve chain strips and eight card pieces, then folds the sign.
- 25–40 minutes: join the chain and fold the eight cards.
- 40–50 minutes: letter the sign and add borders; leave guest cards blank for arrival decorating.
- 50–60 minutes: arrange the cloth, tray and paper display; collect scraps and put cutting tools away.
Prepare and pack away with a short checklist
Reserve an envelope or box for clean paper decorations. Count reusable tools at the end so they are ready for another celebration.
- Before shopping: confirm the guest count, choose two colors and total the missing supplies against your decoration limit.
- The day before: finish assembly, check the sign’s spelling and keep optional printable tags together.
- Before arrivals: arrange stable display pieces, leave room for drinks and activities, and put scissors and spare assembly supplies away.
- During arrivals: offer card decorating at a reachable seat. Keep drinks off the drawing area.
- After the party: collect tools, separate clean reusable pieces from scraps and let guests take their cards.
- Finish cleanup: wipe the tray, wash the cloth if needed and store flat pieces in the envelope. Keep the chain in a box if you want to reuse it.
Questions, answered.
Can we make these decorations without a printer?
Yes. The handmade version uses nine sheets of paper, drawing tools and simple assembly supplies. Write the sign and decorate the cards by hand. The printable swap is optional.
How do the quantities change for twelve children?
Keep one sign and the same twelve-link chain. Use six plain sheets for twelve folded cards, plus two spares and two colored chain sheets: eleven sheets total. For printable tags, one twelve-tag sheet covers twelve children; allow a spare sheet for a possible reprint.
What if we cannot attach decorations to the walls?
Use the handmade tabletop version: the sign and cards stand on the surface, and the chain rests behind the tray. If choosing a printable banner, decide where and how you can display it before printing all seven sheets.